-

Free Samples!



Seam Slippage: Why Fabric Passes the Abrasion Test and Still Splits at the Seam

Table of Contents
Abrasion and seam slippage measure two unrelated things. Abrasion rubs the fabric surface and reports how long the fibers survive it, while seam slippage pulls a seam across its line and reports how far the yarns slide past each other. A fabric can run tens of thousands of abrasion cycles and still open at the seam on the first fitting, because weave interlacing and friction between yarns decide whether a seam holds, and neither of those shows up in an abrasion result.
Key takeaways
- Abrasion results are cycles of surface wear and slippage results are a gap distance or a pulling force, so the two cannot be ranked against each other or used as proxies.
- Diagnose an open seam by looking at it: intact thread with bare fabric means yarn slippage, severed thread means seam strength or tension, and a row of holes along the stitch line means needle damage.
- Satin, sateen, and loose smooth-filament fabrics carry the highest slippage risk, and finishes such as silicone softeners can lower yarn friction after the sample was tested.
- Widening the seam allowance on stress seams is the cheapest first fix, ahead of changing thread, stitch, or needle, and well ahead of rejecting a lot.
- In knits, an opened seam is usually a seam that cannot stretch and recover with the fabric rather than yarns sliding, so check recovery after three washes.
Two Tests, Two Failure Modes, No Overlap
If you have ever ranked two fabrics by Martindale cycles and then watched the winner split at a side seam, you were comparing the wrong things. Nothing was wrong with the number. It just answered a different question.
Martindale and Wyzenbeek both rub the fabric face against an abradant. Martindale moves the sample in a widening circular figure, Wyzenbeek in a straight back-and-forth stroke. Either way, the operator counts cycles until a yarn breaks or the appearance changes. The seam is not part of the test at all.
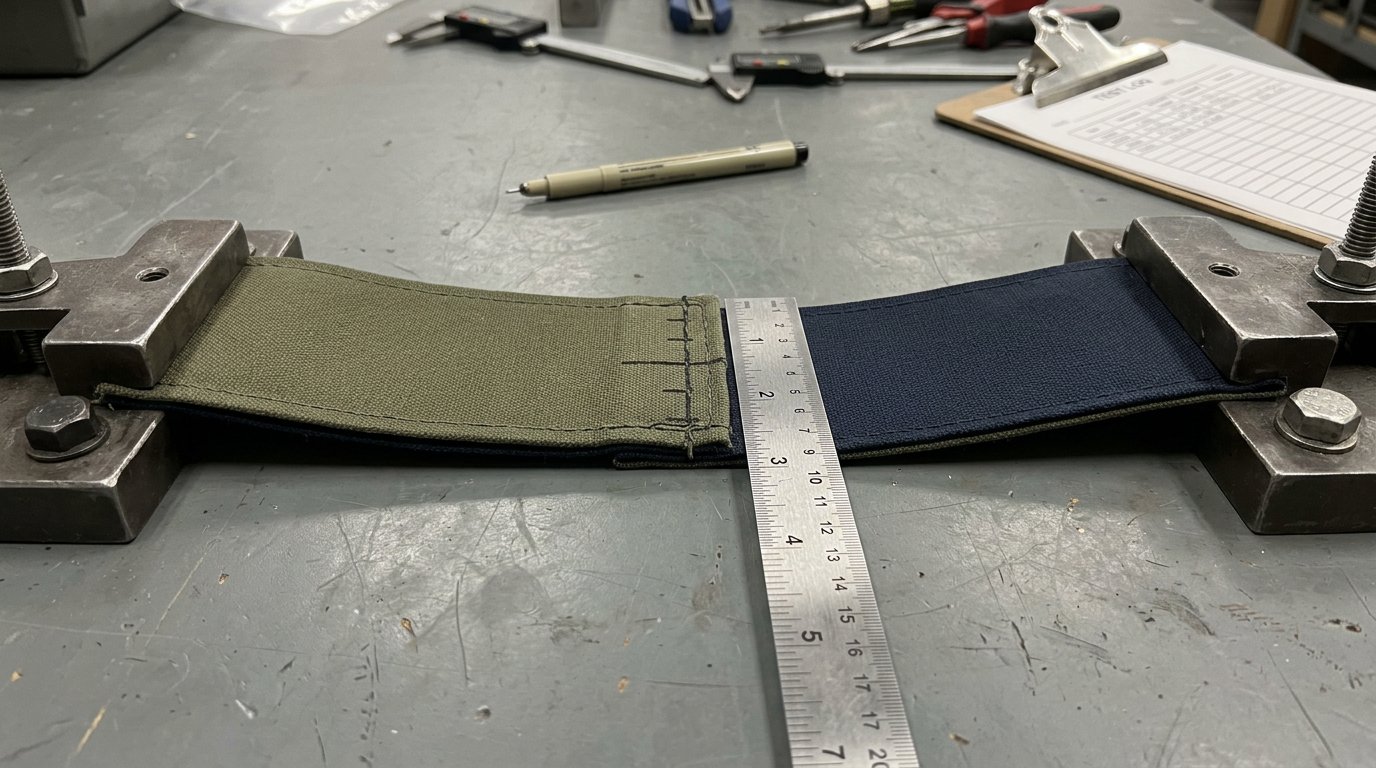
A seam slippage test does the opposite. It clamps a sewn seam, pulls perpendicular to the stitch line, and measures one of two things: the gap that opens at a set load, or the load needed to reach a set gap. The surface is never rubbed.
That makes the results incomparable quantities. One is cycles of surface wear. The other is a distance or a force. Yet buyers routinely drop both into one spreadsheet column and rank fabrics as if they were the same kind of score.
Abrasion asks how long the surface survives being rubbed, and slippage asks how firmly the yarns are pinned in place.
Imagine a filament satin that posts a strong abrasion result. Smooth continuous filaments are hard to wear through, so the cycle count looks excellent. Now pull a fitted bodice seam made from it, and a visible gap opens between the stitch line and the fabric. The same smoothness that protected the surface lets the yarns glide past each other.
What Is Actually Happening When a Seam Splits
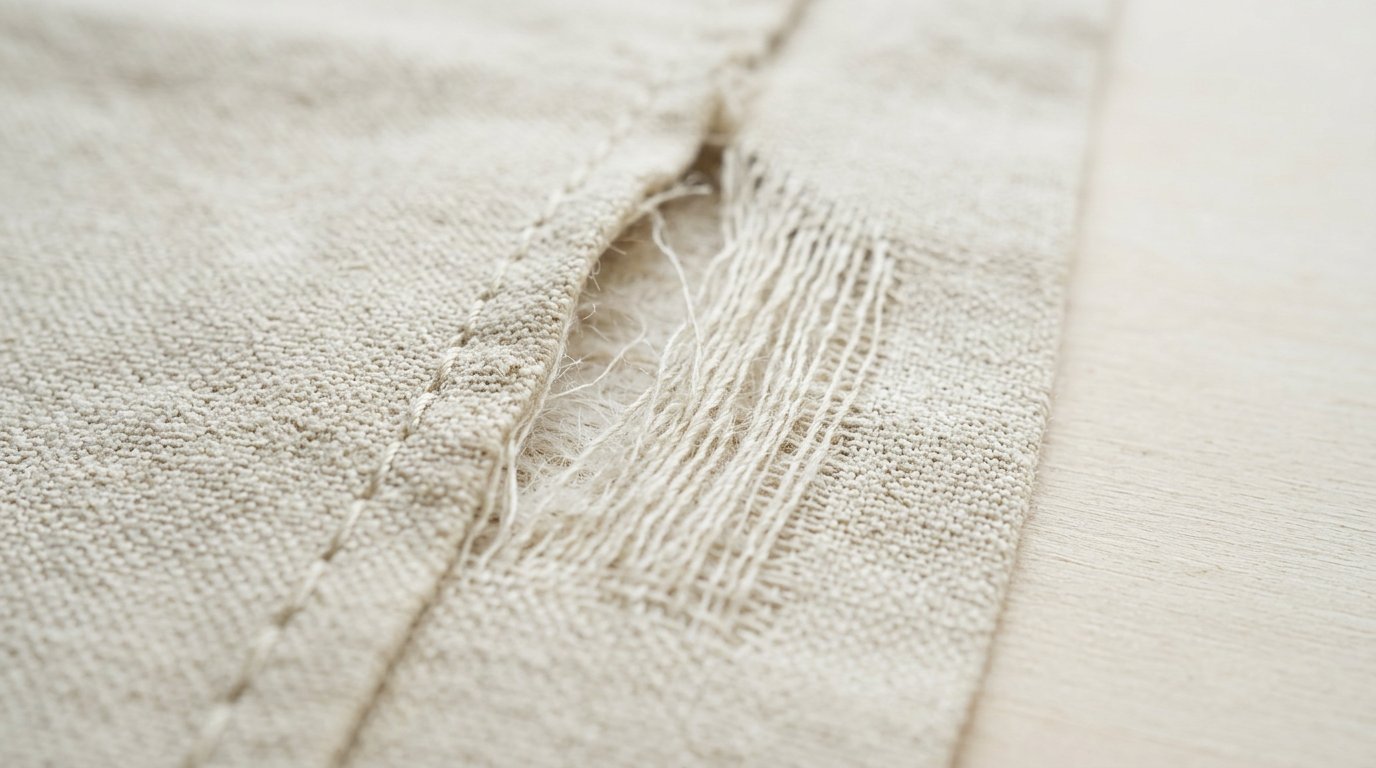
When a seam fails by slippage, the thread usually survives. The fabric lets go beside it.
Here is the load path. Pulling on the garment puts tension into the stitch first. The stitch hands that tension into the seam allowance, where the yarns running parallel to the seam take the load and slide against the yarns that cross them. If the grip between them is weak, the yarns part and the seam opens.
The five things that decide whether yarns hold
- Interlacing points per unit area. Every crossing is a small pin holding a yarn in place.
- Yarn-to-yarn friction. Smooth filament and heavily softened yarns grip poorly.
- Yarn crimp. A crimped yarn has to straighten before it can slide, so crimp buys extension. A flat, low-crimp filament yarn has nothing to straighten and starts moving at once.
- Cover factor. The fuller the yarns pack the cloth, the less room they have to shift.
- Yarn stiffness. It governs how readily a yarn bends out of its crossings once pulled.
Seam allowance width belongs on that list as a load-sharing device. A narrow allowance puts the pull on fewer yarns, so each one carries more. Treat it as a structural decision, not a finishing detail.
A three-way diagnostic for a failed seam
Before you blame anyone, look at the open seam under good light.
- Intact thread, with a pale band or gap of bare fabric: yarn slippage. The fabric is the issue, or the seam is under-built for it.
- Severed thread: seam strength or tension. Look at thread size, thread quality, and stitch settings.
- A row of holes along the stitch line: needle damage. The needle cut or displaced the yarns.
Each points to a different fix, which is why the diagnosis comes first.
And don't reach for weight as a clue. A heavy fabric in a long-float weave slips. A light fabric in a tight plain weave does not. GSM measures mass, and slippage is about structure.
Which Weaves Pass Abrasion and Still Open at the Seam
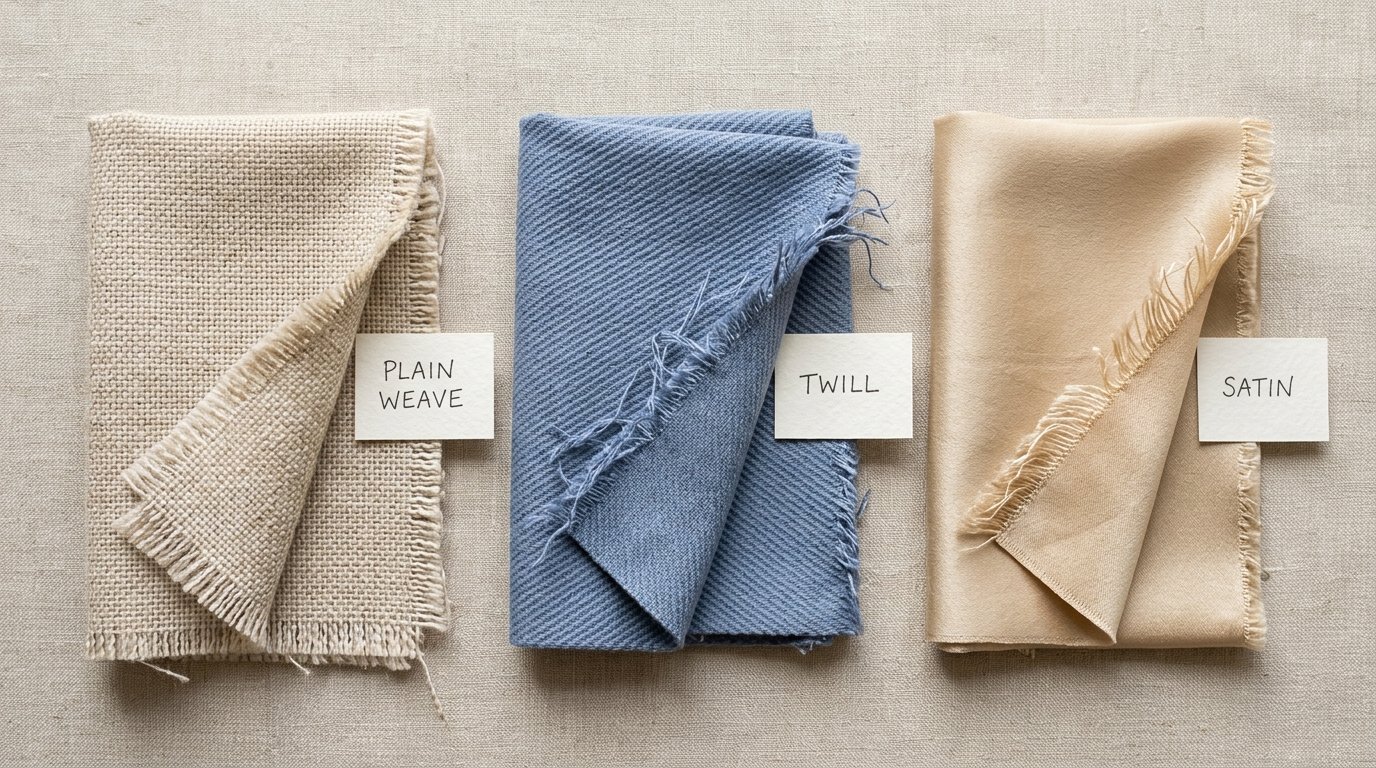
You can predict a lot from the weave diagram on a spec sheet before any test report arrives. The table below sets out the common structures. Read the slippage row and the abrasion row separately, because they will not line up: abrasion resistance depends on fiber and yarn as much as on weave.
Plain weave has the shortest floats and the most interlacing points per square inch, so it has the best intrinsic slip resistance. It is not immune. Fine, low-twist yarns can still slide.
Twill sits in the middle, and the notation matters. A 2/2 twill and a 3/1 twill differ in float length, so they differ in how much yarn is unpinned at any point along the seam.
Satin and sateen have floats crossing four or more yarns and few interlacing points. That makes them the highest slippage risk of the common structures. It is a structural fact, independent of fiber, so a tough fiber does not rescue it.
There is also a direction trap. Satin and sateen have float direction, so the same cloth gives different results depending on whether the seam runs along the warp or the weft. When a seam fails, write down which way it ran. When a mill reports results, ask for both.
A second high-risk family is loose construction in fine, smooth, continuous filament yarns: lining fabrics and some georgettes and crepes. They post high filament abrasion resistance and have very little yarn friction.
Crepe and high-twist yarns sit on the other side. Twist gives the yarn a rough, lively surface that grips, and that is why crimped and high-twist structures resist slip better than their openness suggests. If you are comparing constructions, the woven fabric range is a practical place to put swatches side by side.
The Finishing Room Changes the Answer After the Fabric Was Tested
The sample you approved and the bulk that arrived can share a style number and still behave like different cloths. Finishing is the usual reason.
Imagine a buyer who approves a crisp, well-behaved sample, then receives bulk that feels silkier and sews beautifully but opens at the seams after a few wears. The yarns are the same. The finish recipe is not.
Chemical finishes that change friction and extensibility
Silicone softeners and amino-silicone micro-emulsions lower the coefficient of friction between yarns. The hand improves, the fabric feeds better through the machine, and the seam gets more likely to slip. Polyethylene and wax softeners and anti-static agents also change surface friction. Durable-press resin reduces elongation, so a gap opens with less stretch. Calendering and mercerizing alter yarn surface and fabric compaction, and both can move the result.
Mechanical surface treatments
Peaching, brushing, sanding, and enzyme or stone washing relax the structure and disturb the surface. All of them can change how a seam behaves, in either direction, which is exactly why you cannot assume.
The certificate problem
If a mill ran the abrasion test on a pilot-finish sample and never re-ran slippage after bulk finishing, you hold a report for a fabric you do not own. Nobody has to be dishonest for that to happen.
What to ask for: test reports on the finished, production-finish sample, with the finish recipe and lot identified. Not greige. Not a lab dip.
The Variables You Actually Control on the Sewing Floor
Before you reject a lot, work through the cheapest fixes first. Most cost a pattern revision and an afternoon of sampling, and they can be done without re-sourcing cloth.
- Widen the seam allowance on stress seams. Do this before touching anything else. It is the cheapest change and it directly adds yarns to the load path.
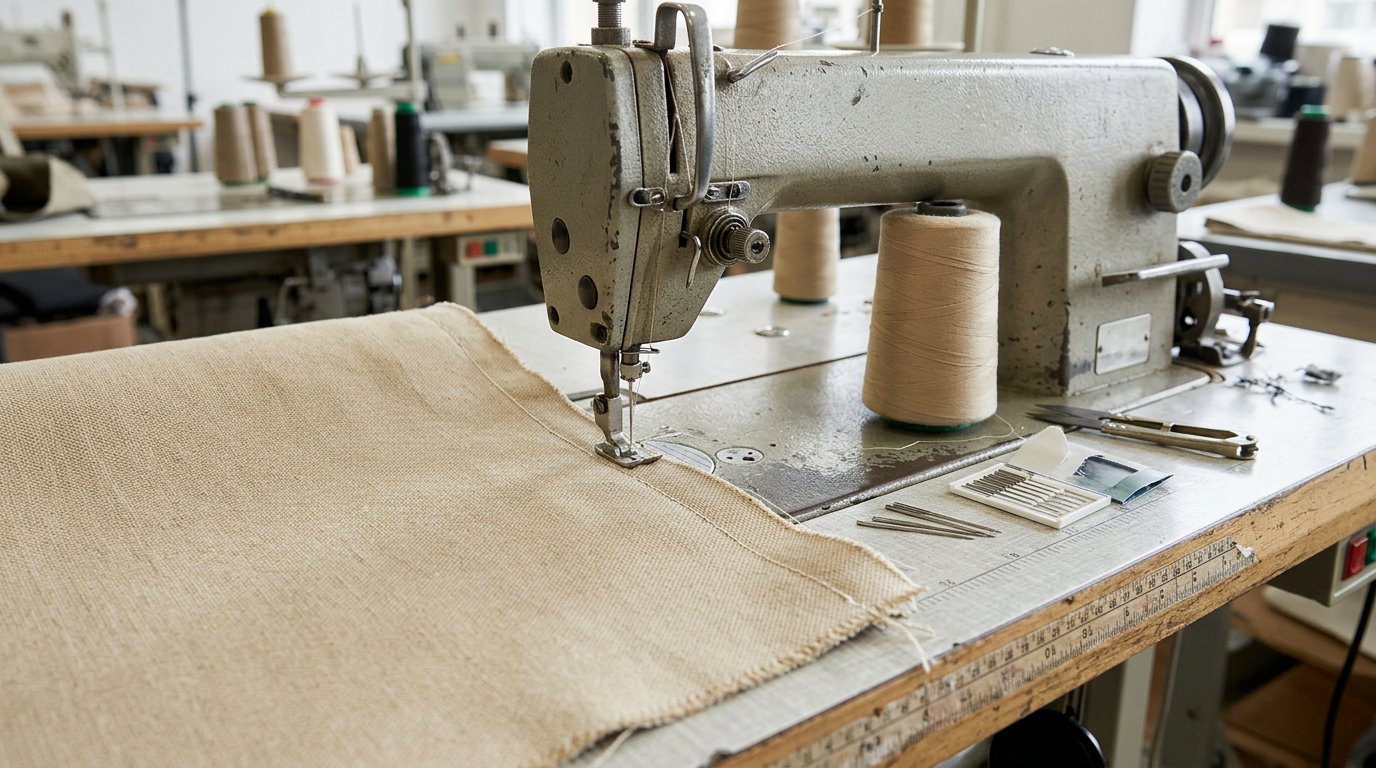
- Match thread size to the fabric. Too heavy a thread sits on the surface and concentrates load at each penetration. Too fine a thread lets the seam stretch beyond what the fabric tolerates.
- Choose the stitch deliberately. Use a balanced lockstitch for wovens. Where the seam takes tension, use a five-thread safety stitch rather than an overlock alone, because an overlock with no row of straight stitching gives the allowance nothing to anchor against.
- Set stitch density with intent. More stitches per inch spread the load, up to the point where the needle line perforates the yarns and gives them a place to start sliding.
- Treat seam type as structure. French and flat-felled seams put a second row of stitching through the joint and behave very differently from a plain pressed-open seam on the same fabric.
- Add stay tape at shoulders, waistbands, and pocket mouths. These are load paths, and slippage finds them first.
- Check needle size and point. An oversized needle opens a hole wider than the yarn needs, and in wovens a sharp point on a coarse sett cuts rather than separates the yarns.
Two machine settings deserve a look as well. Sewing tension and presser foot pressure can stretch the seam as it is stitched. That pre-loads it, so the garment starts life partway to failure. Use our existing needle and thread pairing chart for the specific pairings rather than guessing.
When the Fabric Is a Knit, the Word Slippage Is Often the Wrong Word
Woven-fabric slippage logic does not transfer to knits cleanly. Calling every opened knit seam slippage sends people hunting for the wrong fix.
In a knit, the loops intermesh rather than interlace. A seam under load does not open by yarns sliding past one another. The stitch line holds, and the fabric between the seam and the edge distorts. The trade calls that seam grin.
The usual culprit in a stretch knit is a seam that cannot extend with the fabric. A lockstitch with an inextensible thread forces the load into the loops, which then deform permanently.
Spandex content changes the recovery question, not the friction question. Compare two French terries from our range. KF1195 is a 320gsm (11.3 oz) 95% cotton 5% spandex French terry at $25.99 per yard. MQ43014 is a 180gsm (6.3 oz) 65% cotton 35% polyester French terry at $19.99 per yard. Under the same pull they fail for different reasons. In the first, the question is whether the seam stretches and recovers along with the elastane. In the second, which has no spandex to bring it back, a seam that was over-stretched tends to stay deformed. If hoodies are your use, our French terry buyer's guide for hoodies covers fabric choice in more depth.
So the check on a stretch knit is simple: extend the seam, release it, and see whether it comes back. Then do it again after three washes, not before.
The vocabulary does carry over in one place. High-spandex blends, such as interlock stretch options like 78% polyamide 22% spandex, are where an under-extended seam shows up fastest.
The Seam in the Lab Is Not the Seam in Your Garment
A passing report and a failing production run can both be accurate. Before accusing the mill of anything, compare the two seams.
Every slippage standard fixes the seam allowance, stitch type, and stitch density it tests. Change any of those in production and the report now describes a seam you are not making.
Grain direction is the next gap. The same fabric gives different results on a warp-direction seam and a weft-direction seam, because yarn count, crimp, and float direction differ between the two yarn systems. Bias seams behave differently again, and a bias-cut seam is where a borderline fabric fails first.
Then there is where the stress lands. Armhole and sleeve cap seams, crotch and seat seams, center front on fitted garments, and waistband joins are the places a garment actually pulls. A lab strip tested flat does not reproduce that.
Time matters too. A seam can creep slowly instead of failing at once, so one that looks acceptable in a fit session may open after a day of wear.
Finally, lot and finish variation. The sample yardage you tested and the production yardage you received can differ, and this is a separate trap from the sample-versus-production gap in shade and hand that we cover in why a fabric order can pass inspection and still fail on the sewing floor.
How to Specify and Check Seam Slippage Before You Commit to Bulk
You do not need a lab to start. You do need a clause that a mill cannot read two ways.
- Write slippage into the spec next to abrasion. Make the clause specific: the standard, the seam allowance, the loading direction, and the finish state of the sample tested. A usable template reads: seam slippage per [standard], [allowance], [warp and weft reported separately], tested on production-finish fabric.
- Name the standards a mill should be able to quote. The ISO 13936 series covers slippage resistance of yarns at a seam in woven fabrics, with two approaches: one measures the opening at a fixed load, the other measures the load needed to reach a fixed opening. These are not interchangeable numbers, so ask the mill which one its report gives you.
- Use the right standard for the end use. For sewn seam failure in woven apparel, ASTM D1683. For upholstery, ASTM D4034, which exists precisely because furnishing fabrics fail this way. Ask for warp and weft seams reported separately.
- Run the bench check. Cut two pieces with the production seam allowance and grain direction. Sew them with production stitch settings. Mark a gauge line across the seam, apply a steady pull, and photograph the gap. Run it again after three washes. Our post on fabric tests you can run at home before a bulk order covers other checks that pair well with it.
- Be honest about what it is. The bench check is comparative, not calibrated. It tells you whether fabric A is worse than fabric B under your settings, not what a lab would report.
- Get the cloth in your hands. Swatch cards are available on any interlock fabric for a small fee, and having the actual cloth is what makes the bench check possible.
- Keep the sampling cost small. There is no minimum order for interlock fabric, so sampling a candidate costs a single yard rather than a roll.
Put the Seam in the Spec, Not in the Complaint File
When a seam opens, work the problem in this order:
- Diagnose the failure mode first. Run the three-way check from section 2 before you change anything, so you know whether you are dealing with slippage, seam strength, or needle damage.
- Fix construction before rejecting fabric. Widen the allowance, correct the stitch, thread, and needle, and add stay tape at the load points. Construction is faster and cheaper to change than a production lot.
- Treat sourcing as the answer only when the fabric is genuinely the problem. That is usually a long-float weave, a slippery filament construction, or a heavily softened finish, and those are sourcing decisions rather than sewing decisions.
- Carry three things into every future order: a slippage clause with the seam construction written into it, a test report on the finished fabric in the direction you will actually cut, and a sewn sample you pulled yourself.
With over 10,000 fabrics sold by the yard at Global Fabric Whole Sale, the practical first step is to pull a swatch of your candidates, sew the seam as you mean to produce it, and pull it until it tells you something. Do that before the purchase order, and the complaint file stays empty.




 Login with Google